Tuesday 30 July 2013

Blue and blue, perfect teamwork!


Hello big world!  Recently I sat with a friend -the mosaic fiend, talking about a bench seat I wanted to make.  We scanned the oracle (Internet) for inspiration and came up with the idea for this next project.  A pallet type bench with mosaics. See here.
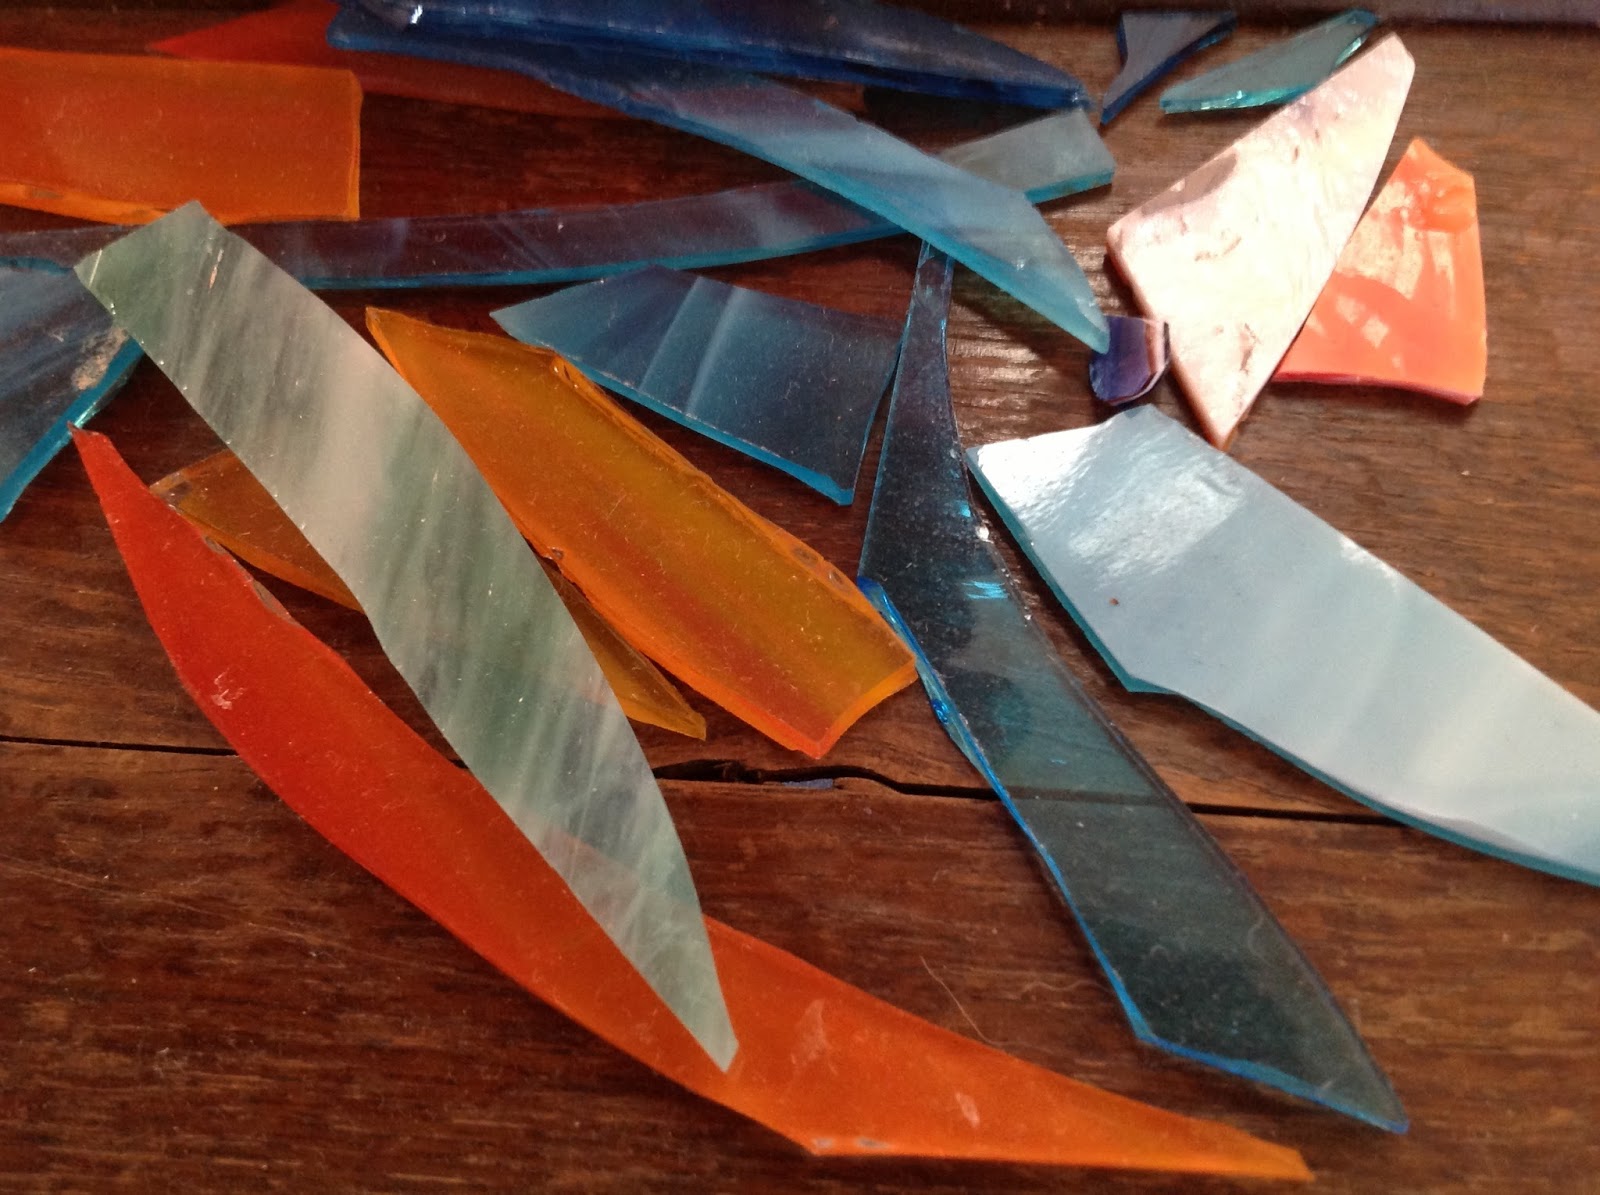
Mosaic and wood bench in blue hues :)

But instead of pallets I found some old bed slats from an ikea bed.  They were better because they were in a predetermined length and fully 'dressed' .  That's sanded and nice looking for you non tool types :).  In any case I set to work.  I used 8 slats from the bed and used a portion of a long piece of 2 x4 roof  lumber.  I had the roof wood because last hurricane my ceiling fell in and VOILA! I had a beautiful open beam ceiling.  The earth moves in mysterious ways... Fortunately I wasn't injured, just a bonus stack of wood and a new and beautiful view.  It makes staring at the ceiling or non ceiling a pleasure, but I digress...

For this project I needed my skill saw, drill, hammer, stain, grout, stained glass and a few brackets to stabilise the legs.


I took the slats and stacked them on top of each other so there was about an inch or so gap between them.  Three for the top two on the bottom allowing for 2 gaps in which to lay mosaics.   I decided how high I wanted the bench to be and cut 4 legs.  Next I stained the wood and labelled the bottom side with a 'B'


Once dry I assembled the top portion, stacked 3 and 2.  Then I screwed the sides to it.  I used two of the ikea slats for the sides as they were already the perfect size.  Next I cut the short end pieces from the slats and screwed them in.  Table top done!

I flipped that baby over and stuck a leg in each corner, I used 4 L brackets to keep them in place.  It was all together but it wobbled :(.   To further stabilise it I cut 2 more pieces from the roof wood, they were about 4.5 inches long.  Wide enough to keep the legs uniformly apart, that worked. Yeah!  Table complete... Two gaping holes waiting for some stained glass!

This started a big debate!!  My friend is a strong willed woman (so am I!)  My friend advised carefully planning the pattern on a separate piece of paper.  She recommended that I draw a strip the size of the gaps and lay the glass in,  as if it were the table.  Harrumph... This wasn't the way I wanted to go, it was slowing up my free flowing creative vibe...


I gave in and did it her way - so not like me :) but realistically she does know a thing about mosaics and the vision in my head was a thing of beauty.  Good thing I listened to her because she gave me the most valuable piece of advice, something I never would have considered!!!

Once we had the pattern set it was time to grout and place the pieces.  I used un-sanded grout in a grey colour.
mixes with water
 White would have been too stark.  I mixed the grout,  a little at a time, according to the instructions ('cause it hardens!) and started placing the pieces.  It didn't fit exactly as it had on the paper but it was close enough... Fantastic! I loved it :) we did one side at a time.  Her advice... DO
NOT throw the grout down the drain, don't even was your hands in the sink.  Think major plumbing bills as that stuff hardens in the pipes ... can you imagine? Would have cost a mint!!!  That certainly never occurred to me, phew!  Pays to listen to advice and take a back seat sometimes :).  On that note, another friend popped in as we were grouting and suggested the following modification to the last glasssection.  He suggested that we add a strip of wood as a filler, so we didn't have to use as much grout.  Made sense, we did that in side 2 with no ill effects, just less drying time.


Once the 2 stained glass strips were in, I wiped them with a damp sponge to remove the excess grout from the glass.  I did his several times, even used a fine sanding block to make sure all the excess was off ...ah... A thing of beauty.  Blue and more blue, reminiscent of my cricket team colours - how timely!


Tool Diva

Ps check tooldiva out on Pinterest, follow my latest projects!


Friday 19 July 2013

My ocean themed penny loo :)


Fortunately or unfortunately my home had all ensuite bathrooms.  Do you know what that meant???? It meant that my bathroom got used as the default bathroom for guests. All my daughters friends, my friends and miscellaneous 'guests' would cruise through my sanctuary to use the loo :( big time!   I had to be super diligent, cleaning every day--- ain't nobody got time for that!

Time to get creative...  I did have a hall closet filled with stuff...  The closet was an old school jobbie, with a heavy galvanised pipe running the length.  I guess just in case someone might want to hang meat there(?!!).   It had wood panelled walls and was quite narrow about 26 inches wide BUT it was almost 6 feet long. PERFECT for a little loo, powder room etc etc. yaaaaaaay, let the angels scream "Hallelujah! ... now get out of my room!!!!!"

First - ditch the junk! I mean who ever opened that door?     I have to confess, I found the perfect sink vanity for sale on line, something about a designer's mistake... I've since which seen their brothers in a local restaurant - lucky me.  Next the smallest adult toilet I could find and a curio shelf, some fish a few pennies and presto "penny loo!"


glass and wood vanity


Looked right but it needed to work... we definitely need professionals, can't wing that kind of plumbing, could be a disaster of epic and smelly proportions!


Nassau Grouper by local artist, glass xmas balls with shells & pennies


About the decor .. I couldn't decide between an ocean or a penny theme so I combined it.  What do you think? I love it...ok, so no hefties, I better keep eating salads!


toodiva :)

Friday 5 July 2013

I'm blind to you!

Recently, I was in a potential clients office and she spoke about being blind to the chipped paint and the worn look of a her building because she was there everyday and she knew the intrinsic value of the place and all the good things that came out of it.  She likened it to not being able to see the weeds amongst the flowers growing in her garden.  I realised I was the same way with my 2 garden hoses.

This  extra long monstrosity was in my driveway looking like a tangled python about to attack.  Bikes perched nervously around it.   The vicious coils threatened to smash my flower pots every time I dragged the hose around the garden.

I made a sad attempt to mount a plastic hose organiser to the soft stone wall  near the tap but needless to say, one pull and it was back in its favourite spot - right in my driveway, the first thing you saw when you visited,  never mind the debris that always gathered there uggh!  Not what I would call curb appeal :(

I had to make this work and I didn't want to lay out any beans because technically I had a hose organiser, I just needed to make it work and make it attractive.

I went into my basement to get some inspiration and there I saw it.  Four inch PVC pipe cutoffs and a cap that looked a bit like a hat.  Mind you the cap didn't fit exactly but looked official on top of the pipe, a kinda 'Gentleman Hose' vision floated through my head.  I had visions of a moustached pole gentleman holding my perfectly organised hose...    yaaaay, I figured I was on to something....

First I grabbed the black spray paint- think tux, then I assembled my saw so I could cut the PVC pipe, a drill to mount the hose organiser thingy, PVC cement glue, and a hoe and spade to dig the hole in which to sink the pipe.  I also grabbed a piece of reinforcement rod -just in case- all I needed now was some concrete mixture to set the pipe in the hole...  Hardware store trip ... Rockite... that's a quick setting concrete like mixture, easy to use - a bit like cake mix.  Just add water, stir, and Bob's your hose man!
Drying my pipe :)
Can't you see it as a hat?
 Those bejeweled, well coiffed, uniformed ladies at the hardware store always glance sideways at me.  Is it the glazed look in my eye or is it the mis-matched  clothing and hair covered with paint splatter  that's trying to masquerade as grey patches, who knows?  I'm just glad I can't read minds!

I measured the height of the pipe for the space.  Marked where I wanted the organiser bit to go and then drilled the holes.  Next I sprayed pipe and cap with the paint then left them to dry in the sun while I dug the hole. It had to be bigger than the pipe and deep enough to provide support for the contraption.  When that was dry I mounted the hose organiser to the pipe.

Next, I poured the rockite (batter) in the hole and put the pipe in and let that set (1 hour). I toyed with how I was going to make it look like a tuxedo man, or even a crazy nutcracker (!) but since I have the art ability of a drunken flea, I soon gave up -- consoling myself, I could and would eventually make this work.  I just need to consult someone with some artistic ability...  For now, my hose was up off the ground and the bikes given a few more feet to park... good enough!   Wait...  look at the picture...seems my caruck needs washing :(

Td