Wednesday 19 June 2013

Having everything you need :)

Sometimes, you get to looking around and start mentally complaining and comparing your situation to other peoples situation, to people who seems to have it all sorted! The truth is, that it is very likely that we already have everything we need.  I started with this thought as I eyed the fabby sail cloth/ shade I had rigged up over my patio.  It was done in a really bush league kind of a way and it quietly irritated me :(  My quick and dirty set up was tied from the fence posts; between the invasive but beautiful passion flowers; to the rafter feet, and looked at best-- temporary. I was able to momentarily console myself saying it was easy to take down in case of a storm /hurricane. Laziness is a disease! Wanting things to be different and doing something about it are two different animals...


My angst was likely fuelled by the fact that some friends of mine had purchased similar shades and had theirs up and it looked super.   Never mind that they invited me over for cocktails AND to gloat over how wonderful theirs looked!! I had to do better! And with my new mantra, I already had everything I needed to make it right.   So I walked around the house and noted some old  1.25 inch galvanised piping I had from dismantling part of an old chain link fence.  It was almost invisible as vines had grown over it hiding it from view and excusing me from having to put it away or discard it. ( yikes!)  I also had the bits for the top and the pipe was in very long pieces of 20 feet, long enough to use for my project.  Presto, acknowledge and be grateful for what you have and more appears! Yaaaaaaaayyyy!

So I got out my hack saw - for cutting metal, a tape measure, my hammer, rubber mallet and a spare piece of left over wood for cushioning the pipe and got to work.  I cut the pole into 10 foot lengths.  I took the spare piece of wood and covered the top of the pole and banged it into the ground so it lined up with the side of the pillar cap -- so maybe a foot or more was underground.

It wasn't quite sturdy enough, I knew I needed to fasten it more securely.  Mainly because those pipes would be lethal if they fell on someone or something in a windstorm - using the sail cloth as a "sail!" (think lovely wrought iron and glass table). I took advice on the best way to do this and, after a trip to the hardware store, came back with Lag bolts/ shields etc for fastening to concrete.  This part took strength, I usually YouTube how to do everything, but this time I figured I knew best.  Using body weight to force the drill into the concrete was tough but I managed. It looked professional but industrial, not quite the look I wanted but ok..

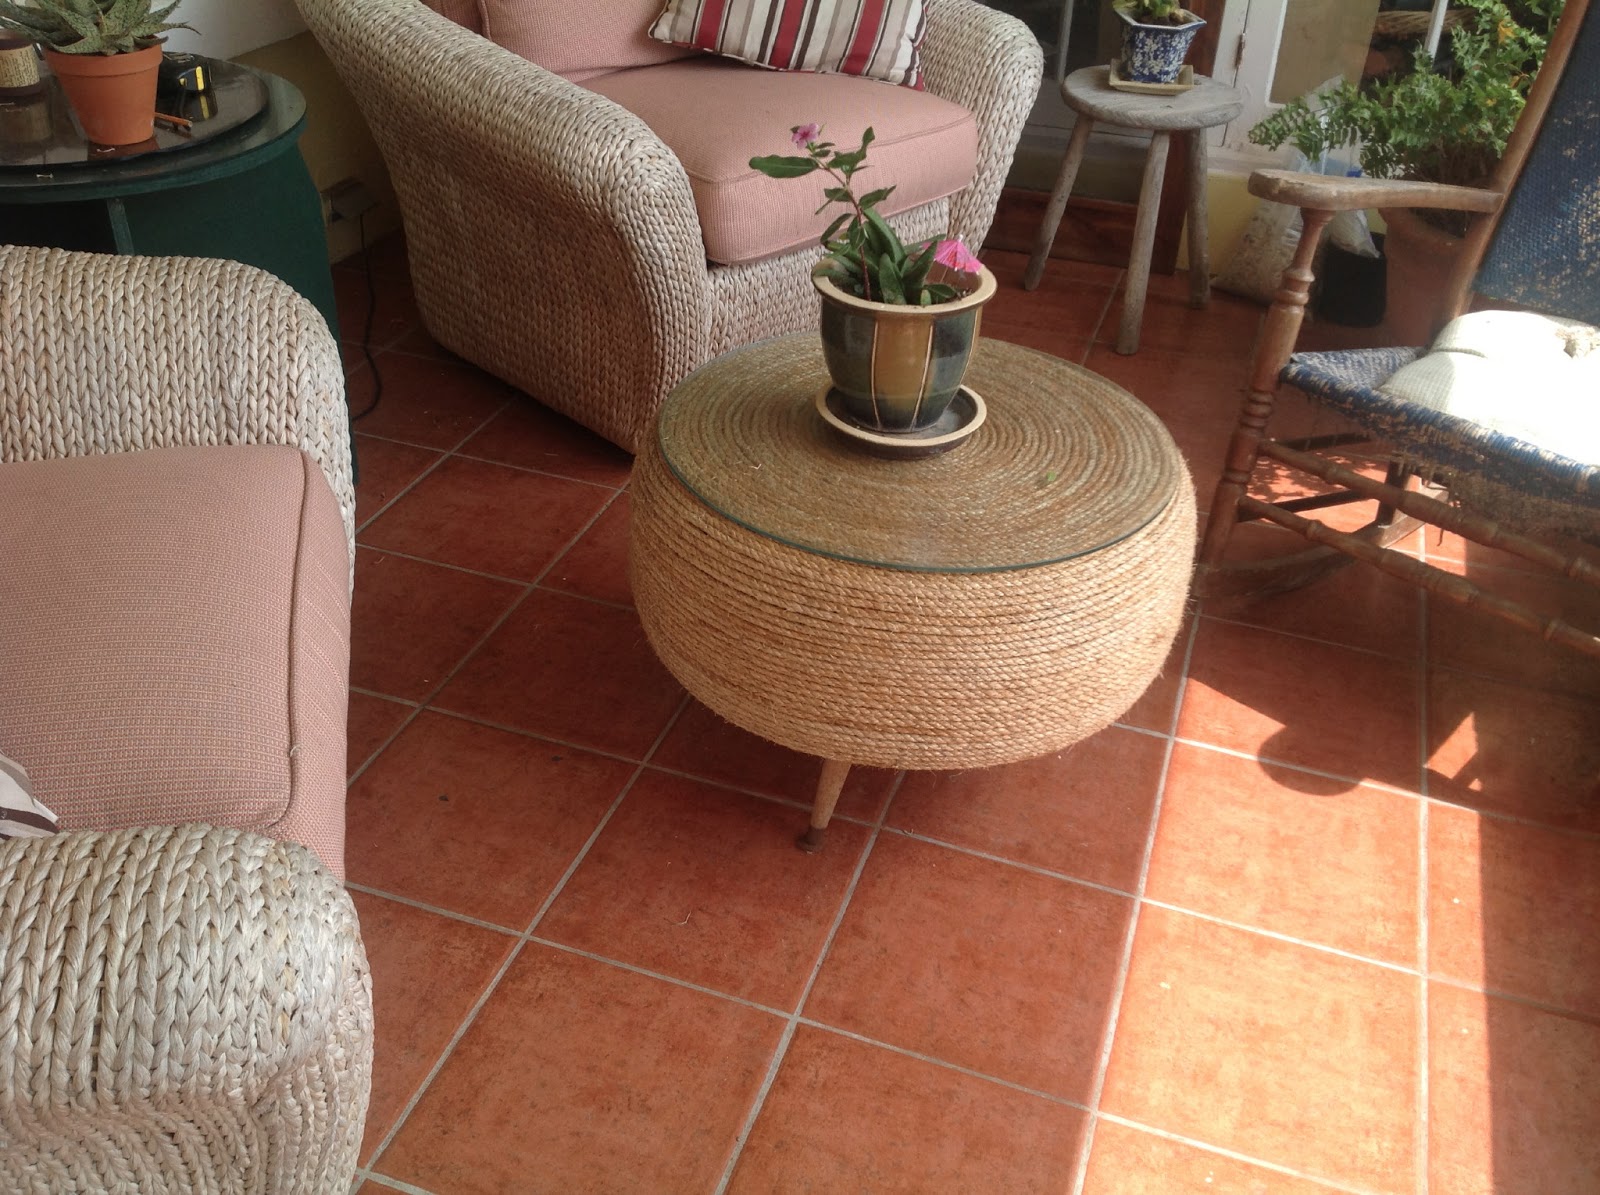
I wanted it to look better than professional so I took some manilla rope - left over from the ottoman project- and wrapped and glued it to the pole.  I had to undo the bolts to get the rope to go under the fastener strap, but the end result is just what I was looking for.  Last was tying the sail rope to the cap at the top, which conveniently had a little hole in it....  Voila! 


All done and looking perfect. Martha eat your heart out!


Monday 10 June 2013

What was old becomes new...

Just so you know, I am also into making stuff that just plain ole looks good... like this ottoman I made.  I got the idea from the Healthy Hybrid FB page - who got it from another girl called Nikki.  Since I made mine I noticed that Nikki is selling the instructions and asking folk not to publish the how to.  Here's the link to that ... http://thatwasawhat.blogspot.com/2012/08/another-tire-saved-from-landfill.html

In any case it was easy-ish, I modified hers in that I couldn't stomach the idea of all that crazy glue, so I looked around the house and found some left over floor tile glue I had lying around.   Maybe I was being cheap or just bullheaded, who knows? Any way, it 'eventually' worked out. The legs I raided from an ugly footstool that I had stashed away.  The project required my jigsaw, drill, a few screws, a few paintbrushes for the glue and a piece of circular glass for the top. Oh yes, and the tire and some plywood.

Mind you, if I did this again I would wear gloves...  the glue was all over my hands. I had to hide them over  the next few days in the office. Perhaps they were wise to use the crazy glue. But who ever follows instructions to the tee???  I did try other glues... gorilla glue (don't bother,
it foams up when it dries -- I had to discard the gross foamy mess along with the tire)  


I ripped the rope off of it so I could reuse the rope ( pricey stuff!)
Other tips... buy Manilla rope in 3/8inch.  Manilla, not sisal-- unless you only want it for indoors.  Manilla is treated to withstand the elements.  Sisal is not.  My stool is on the porch  :)

I started from a natural groove in the wheel so that my lines were straight and continued on.  When I got to the top I started from outside and worked towards the centre.  It took several hours and tons of rope...  like over 300 feet of rope.

I have to say, it is really satisfying to take something labelled trash and recreate a thing of worth and beauty. Reminds me of a story a woman told me about finding a scary, neanderthal  type and investing the time and renovating him, turning him into 'a man of beauty and substance'... but that's another story!

See picture below.  I didn't show or detail the entire process but ...  I did show you my failed tire and the end result. Voila! .... Note the ragged  cane rocker seat in the foreground ... sigh... another project in the wings...  :)

My tire turned ottoMAN :D